2026 Author: Erin Ralphs | ralphs@carsalmanac.com. Last modified: 2025-01-22 21:14:18
The front bumper is damaged more often than other body parts. But regular trips to a car service bring no joy to anyone. Fortunately, modern technology allows you to repair damage yourself in a few hours. How to paint the bumper yourself is described in detail in this article.
Money issue
For painting a small scratch from the curb in any car service they will take at least 3,000 rubles. Repair and complete painting of the front bumper from an expensive foreign car can already cost 15,000 rubles. And this is not surprising! For example, for a huge Toyota Land Cruiser bumper, only paint and varnish will cost 3,000 rubles, not counting other expensive consumables. Therefore, the question of how much it costs to paint a bumper, without reference to a specific car model and the degree of damage, does not make sense.
However, it is easy to make an approximate calculation for an independent repair of the same scratch from the curb. Here is a list of what is necessary and sufficient:
- Waterproof sanding paper, grades: P 80, P 120, P 240, P 600, P 800, P 2000 - one by onesheet. The cost is about 30 rubles per sheet.
- Scotch brite gray (abrasive sponge) - 10 centimeters. About 30 rubles.
- Universal polyester putty - 0.2 kg. It can cost about 300 rubles.
- Acrylic gray primer in an aerosol can. The average price is 300 rubles.
- Spray paint, according to your car's color code. Up to 600 rubles.
- Transparent car varnish in an aerosol can. No more than 300 rubles.
- Masking tape (paper adhesive tape) - 1 piece. Approximately 80 rubles.
- Coarse abrasive polish "3 M" No. 09374 - 50 grams. Sold by weight, about 150 rubles.
- Dust-absorbing, antistatic cloth - 1 piece. Another 50 rubles.
- Adhesion activator for plastic (primer for plastic) - 50 grams. Sold by weight, about 100 rubles.
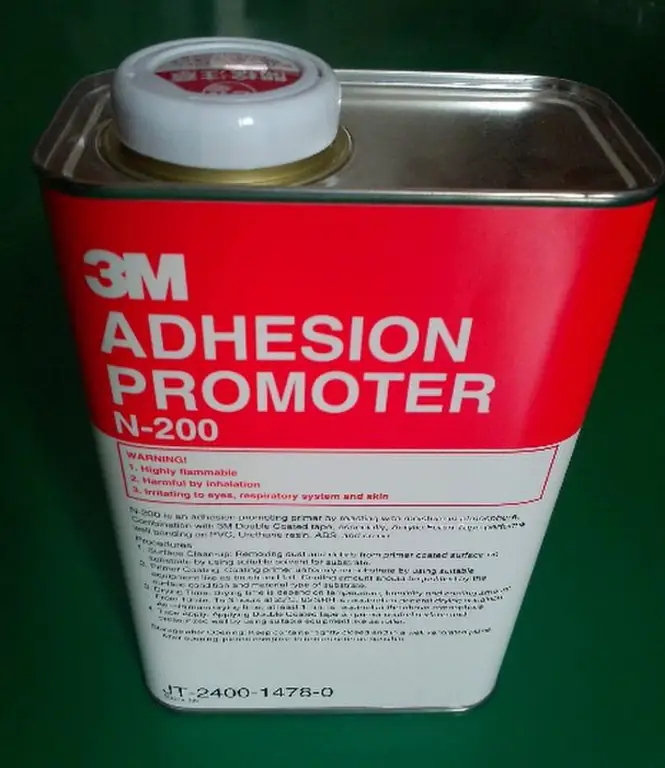
Total: approximately 2,000 rubles.
It is important to note that all of the above, except, perhaps, polishes, will not be used up at once. Practice shows that three times can be enough. As you can see, the game is worth the candle, and the answer to the question of how much it costs to paint a bumper becomes completely ridiculous.
The main technological secret
On modern cars, the front and rear bumpers are made of plastic. In 90% of cases it is black polypropylene. The main task when painting it is to ensure reliable adhesion (adhesion) of the first paint layer with plastic. To solve this problem, a special product has been developed - an adhesion activator, which is often called primeron plastic.”
In fact, this is not a primer, but a clear liquid, ready for use. It is applied to bare plastic in a very thin layer. After a fifteen-minute exposure, any paint and varnish material can be applied to the bumper treated in this way. Excellent adhesion guaranteed.
How to paint a bumper
Even if you need to paint the whole bumper, it is quite possible to do it using only aerosol cans. But there is one limitation! This is the availability of commercially suitable paint in aerosol form. In addition, it is important to understand that the finished paint in the can may slightly differ in shade from the color of the car. For spot painting somewhere at the bottom of the bumper, this is acceptable, since it will turn out to be a smooth transition from one shade to another, and no one will notice it. But with a full front bumper painting, such a mismatch may not be acceptable.
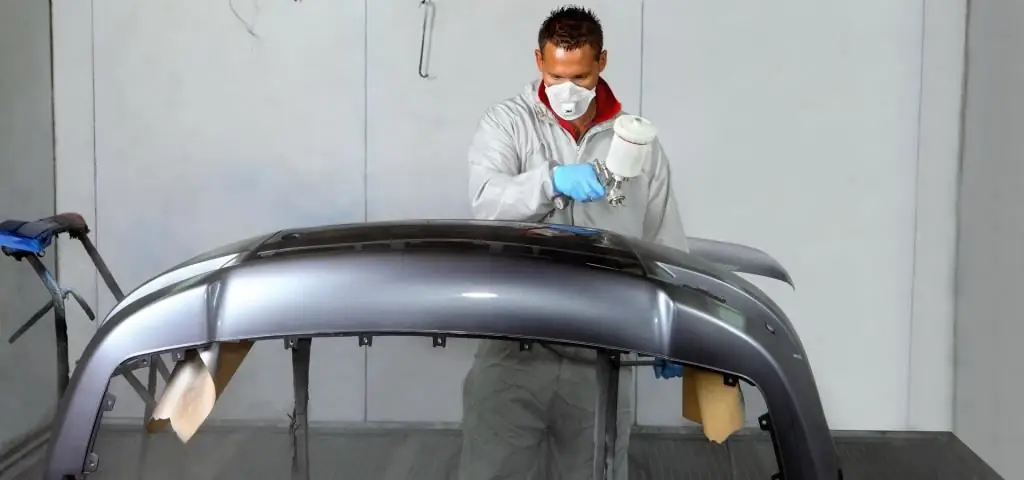
In this case, there is only one way out - to order paint in a color matching laboratory and paint with a paint gun. To do this, it is not necessary to buy an expensive gun and a large compressor. A small option at a price of about 1,000 rubles and a compressor with a receiver volume of no more than 20 liters is quite suitable.
Front bumper painting technology
If you bought a completely new bumper that was not primed at the factory, then first you need to wash it with laundry soap, and then cut off all the sharp edges that remained after factory molding with P 800 abrasive.
The next step is a thorough polishing of everythingbumper gray abrasive sponge scotch brite. During grinding, water is not used, it will interfere with the visual control of the process. When the plastic is completely matte, wash off the dust with water, blow compressed air over the bumper and dry it completely.
Then, use a tacky anti-static wipe to wipe the entire part without pressure and apply an adhesion promoter. The activator can also be used in aerosol packaging.
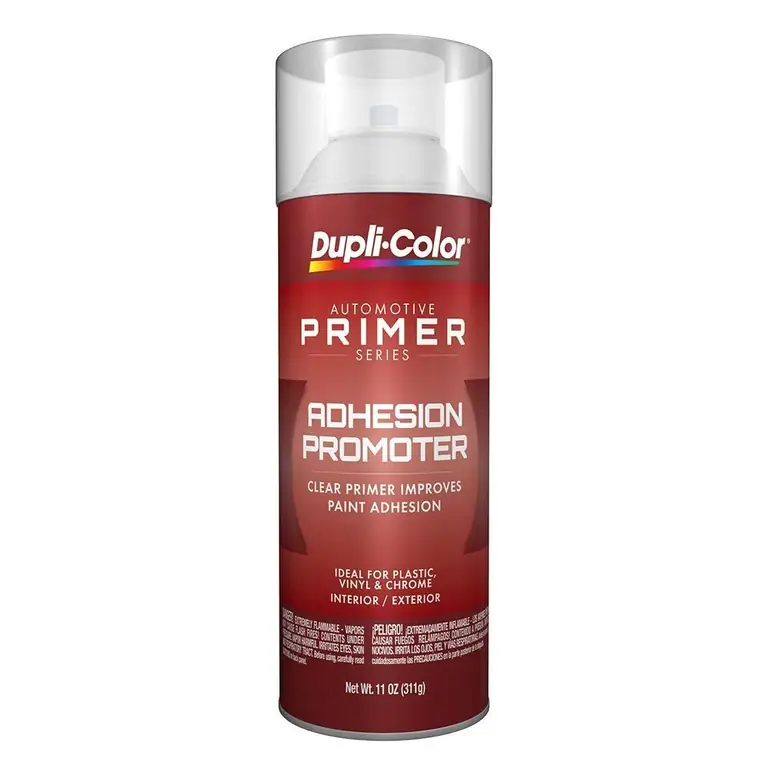
After fifteen minutes you can apply primer (if there were scratches on the bumper) or paint (if the bumper is in perfect condition).
If your front bumper is painted in metallic or mother-of-pearl colors, you will need another coat of clear coat, but not earlier than 40 minutes after applying the last coat of paint. If it does not dry completely, then the varnish may subsequently fly off in pieces from the bumper.
All information on the use of any paint and varnish materials is reflected on the packaging in text form or using pictograms.
How to polish and wash the bumper after painting
At a temperature of 20 degrees Celsius, you can polish the varnish one day after application. In the case of a full painting of the front bumper, polishing is only needed to remove dust particles stuck to the varnish. They are sawn off with an abrasive P 2 000, the risks of which, in turn, are polished with coarse abrasive polishing paste 3M.
In open areas, you can polish with a drill and a polishing pad attached to a disc with Velcro. These discs are sold in many hardware stores.
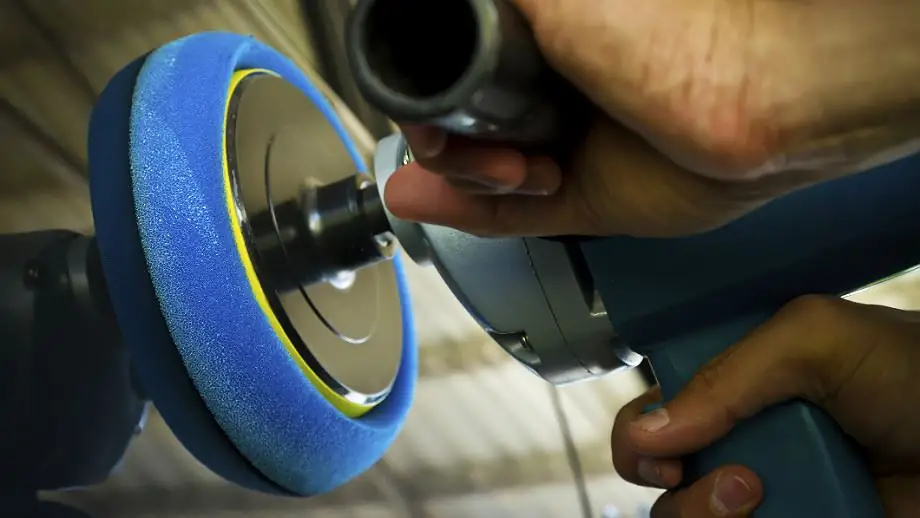
In hard-to-reach places, it is better to use a piece of cloth with polishing paste. The remaining polish is removed with a fiber cloth cloth.
Freshly painted plastic parts can be gently washed with water and a sponge 12 hours after applying varnish or paint. Pressure washing is only allowed after 6 weeks.
Recommended:
Self-replacement of the VAZ-2114 front bumper: useful tips and tricks

Car bumper VAZ 2114 serves not only to give the car an attractive look, but also creates additional body protection in the event of a collision. It is he who suffers more often than other elements during the operation of the car. The simple design of domestic cars allows you to independently replace the front bumper of the VAZ-2114
Painting a car with liquid rubber: reviews, prices. Which company to buy liquid rubber for painting a car: expert opinion
Liquid rubber for cars is vinyl. It is also called rubber paint. This coating option is a real alternative to car enamels, which are used today for painting cars. This technology is innovative, but today many motorists have already tested it
Support bearings of the front struts: photo, signs of malfunction. How to replace the front strut bearing?
Information about what constitutes the support bearings of the front struts. The design, principle of operation are described, as well as instructions for replacing these suspension elements
Bumper painting - useful tips

The car bumper performs the most important function - it protects the car body from various mechanical damage. But this does not mean that it is able to fully protect all the parts and assemblies of your iron friend from a head-on collision at a speed of 100 kilometers per hour. But in the parking lot, in case of minor accidents, the bumper does an excellent job of its function - it takes the whole blow on itself, protecting the rest of the lining
Painting the rear bumper: the order of work, the necessary materials

Painting your own rear bumper is not the easiest thing to do. To complete the painting will require dismantling the bumper. Let's analyze how to choose tools and material, as well as the whole algorithm of actions when painting with your own hands, listen to the recommendations of professional car painters

