2026 Author: Erin Ralphs | ralphs@carsalmanac.com. Last modified: 2025-01-22 21:14:11
The car plays an important role in the lives of many people, and we would like it to work flawlessly when it is really needed. To diagnose possible problems, manufacturers are introducing a wide variety of electronic sensors that allow them to respond in time to various deviations in the normal operation of all auto systems. In order for the driver to receive information about changes in time, visualization of measurements is required, which is represented by several control color diodes on the dashboard or a more advanced version - an on-board computer. Chevrolet Niva is produced with signal lamps, but it is possible to replace them with a full-fledged device for monitoring and diagnosing car systems.
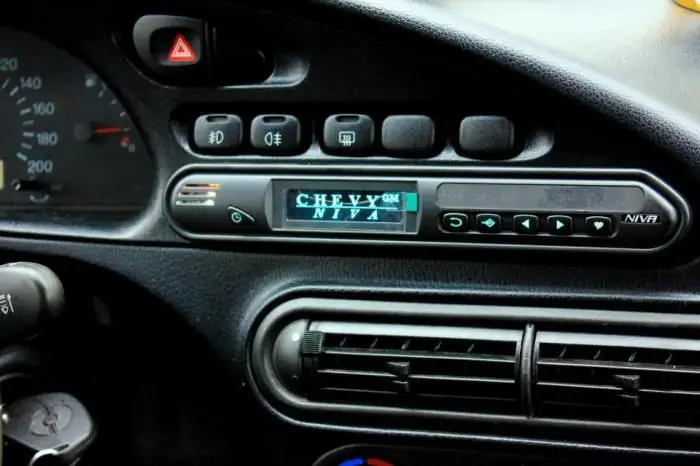
Basic concepts
Just as ordinary computers differ in performance, so do car electronics models differ in functionality. Let's start with an understanding of what an on-board computer is for a Chevrolet Niva, which one is better to choose so as not to overpay for "extra" options.
There are simplified models designed to control fuel consumption,calculation of travel time, average speed and some other basic parameters. Such devices are called trip computers and are used mainly in trucks for cargo transportation. Limited functionality does not allow displaying a large amount of diagnostic information about the operation of various vehicle systems. Another thing is a full-fledged on-board computer on the Chevrolet Niva. The instruction for such a device is replete with descriptions of all kinds of functions, up to forced intervention in the operation of the engine and other systems.
Popular solution
On the basis of Togliatti State University in 2007, an enterprise for the development and production of electronic automotive systems was established. For each modern VAZ model, the on-board computer "State" was released, including on the Chevrolet Niva. Since 2009, Chevy State devices have been officially approved for use in these car models. One of the most popular models is the "State Matrix" of various modifications. This device is compatible with Bosch MP7.0 and M7.9.7 controllers and works according to the standard OEM LADA protocol.
In addition to collecting and displaying diagnostic information on the screen, the device is able to control the electric fan on the engine and parking lights. In the settings, you can lower the temperature of turning on the air cooling of the carburetor, and the automatic switching on of the headlights when driving will save the driver from unnecessary trouble, moreover, the smart device will warn about the headlights that are not turned off when the engine is stopped. In addition to the standard routecomputer, the model has a wide range of other functions: diagnostics for more than a dozen parameters, decoding and accounting for system errors, multi-displays and speakers, as well as a special custom function key and traditional alarm clocks for digital devices. These characteristics are enough for most users who buy an on-board computer. Niva Chevrolet, under the supervision of an electronic assistant, will be able to undergo maintenance on time and be repaired much less frequently.
Alternative models
In addition to Chevy Matrix, Shtat produces universal models with windshield mounts, and various options from other manufacturers are also available for sale. Especially for this brand of car, a more advanced copy has been developed than the on-board computer described above. Chevrolet Niva with Multitronics C-570 is ready to provide information that will be redundant for most ordinary car owners. In addition, the computer is compatible with a taximeter and parking sensors, is able to monitor the quality of fuel and is equipped with a large color display that can display data even in the form of graphs. The model is relevant for taxi drivers and other professionals who need additional system configuration and diagnostics.
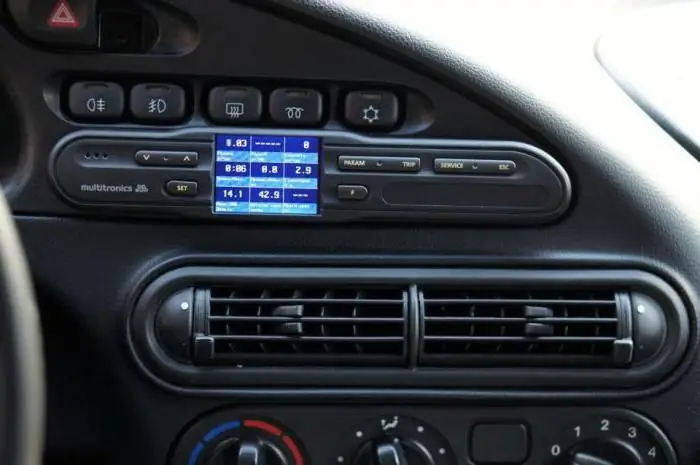
Prestige-V55-01 is a versatile on-board computer that is compatible with a variety of vehicle brands. In addition to the basic functions of a full-fledged car computer, the model can be used as a limitedDVR.
Preset
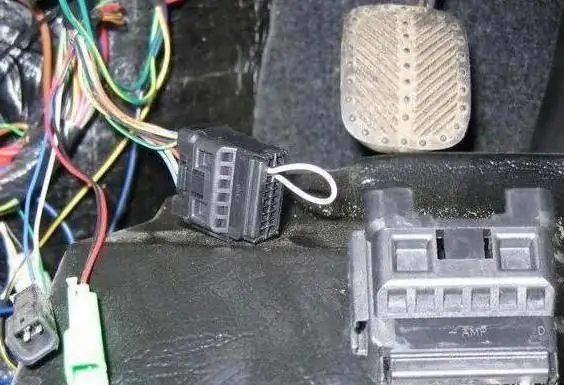
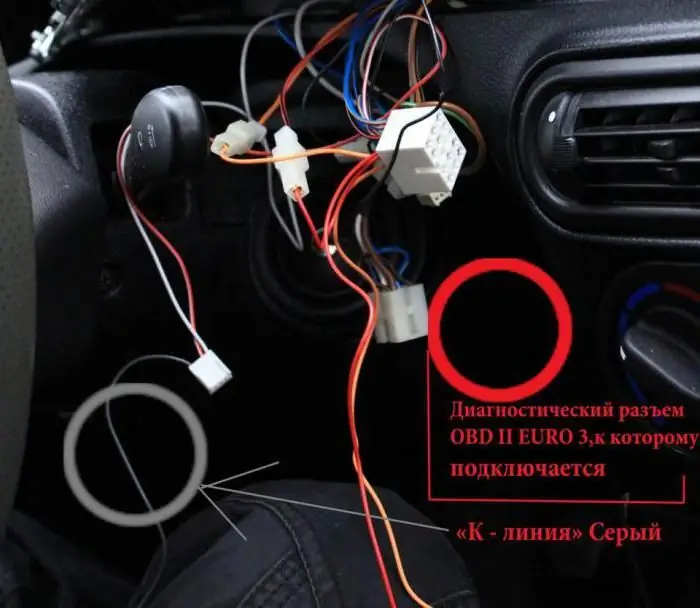
Manufacturers claim that DIY installation of an electronic device is not too difficult, but at least basic skills and extreme care will be required to connect the device to a car. You should act according to the instructions in order to avoid possible problems that can be caused by an incorrectly installed on-board computer. "Chevrolet Niva", like any other car, requires de-energization during any actions with the electrical system, for which you need to remove and remove the "minus" terminal from the battery, popularly referred to as "mass". You should also make sure that there is an immobilizer, in the absence of one, you will have to emulate a jumper on the OBD, as shown in the figure. This is an external temporary jumper, for a permanent connection it is better to use the terminals.
BKL replacement procedure
For models released to replace the "bulb block" on the panel:
-
The dashboard should be carefully removed by loosening the screws, 2 of which are located above the steering column, right on top of the speedometer and tachometer. 2 other screws are under the decorative inserts on the right.

niva chevrolet on-board computer errors - By pulling out the panel, you can release the block of signal lamps from the latches. Be sure to remember the order of connecting the connectors before dismantling the LCL, you never know what.
- Connect a six-pin plug to a computer, it must have a suitableconnector.
- You will need a T-branch to connect the ignition. 1 pin of the six-way connector must be connected to the cigarette lighter or ignition wire.
- The next item will be the connection of the on-board diagnostics, the connector is located to the right of the steering column.
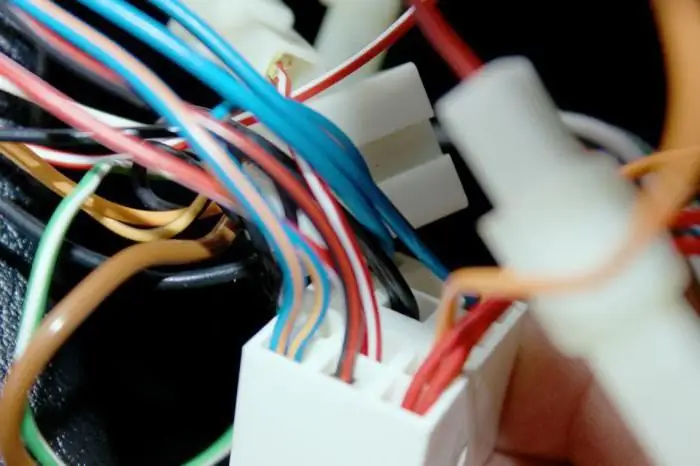
- The computer will need a power source, which can be done using one of the 12-pin plugs inside the dashboard. In order not to get confused in the wires, manufacturers carry out a standardized color differentiation:
- Red and red-black colors indicate the main power +12V.
- Orange insulation implies ignition wire.
- White and red-white colors lead to the side lights of the car.
- Black wire marking is a minus or mass.
Now you can install the computer in the panel and secure it in place.
Second generation Chevrolet Niva
Installation of the on-board computer on the Chevrolet Niva of the latest releases is somewhat different from that described earlier. There are some subtleties of connecting the ignition instead of the connector that is attached to the lamp unit. You can read more about this in the appropriate place in the instructions. The latest generation model is equipped with a security system by default, this must be taken into account when connecting the diagnostic connector.
Universal BK models
Such models are equipped with standardized cables and wires of sufficient length, which facilitate the installation of the device on the windshield. Carefully read the instructions for each model to understand all connectors and connections.
First start-up and operation
After installing and turning on the on-board computers "State" and some other models work in demo mode until the Chevrolet Niva is started. On-board computer errors when turned on may be associated with an incorrect choice of the type of control unit. In this case, you will have to manually configure this setting through the computer menu. You can read more about detailed settings in the instructions that came with the device.
Recommended:
Engine diagnostics: what is included and the cost. Computer diagnostics
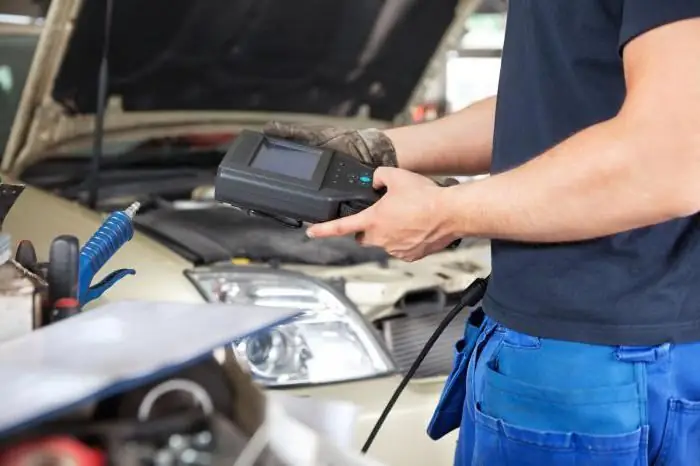
Engine diagnostics is a set of measures to identify deviations in the operation of components that can disable an expensive unit. All necessary tests are included in the full cost of the service. However, to reduce the price, the masters reduce the established list
Auto: computer diagnostics and equipment
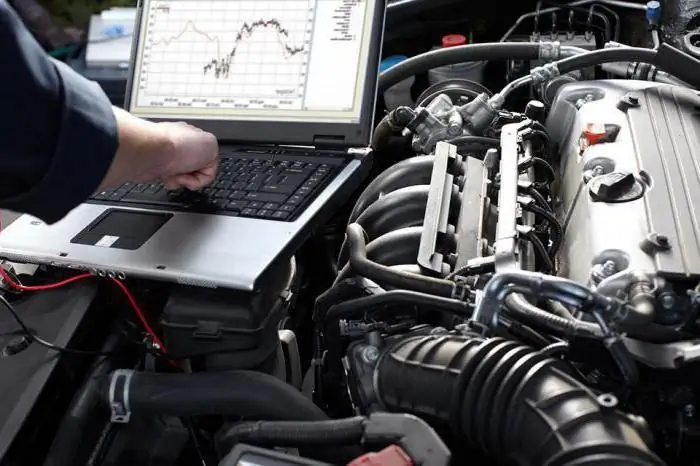
All modern electronic control systems that are designed to control the car are equipped with self-diagnosis, designed to inform the driver about malfunctions. Many motorists have noticed the Check Engine indicator illuminating when the key is turned. It goes out a second after starting the engine. If the system detects a malfunction in the vehicle, the indicator will not turn off. In this case, computer diagnostics is required for your car
Do-it-yourself car radio installation: tips and instructions

Installing car radios is usually not a very difficult task, and therefore almost any car enthusiast can do it himself, especially if he had previous experience with any electronics
How and why is computer diagnostics of cars carried out?
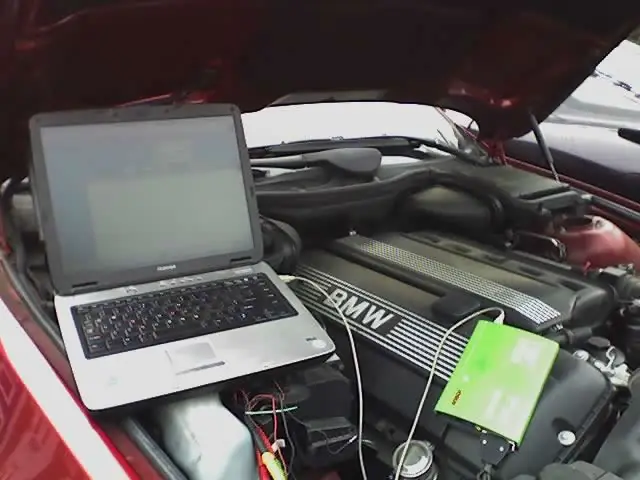
Brief description and introduction to computer diagnostics of cars. Overview of several programs and connection methods
Computer diagnostics of cars - what is it? Why do you need computer diagnostics of cars?
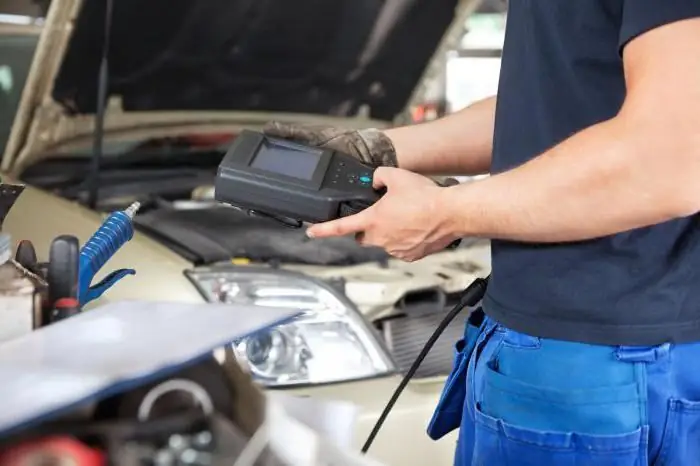
Timely detection of deviations and malfunctions at an early stage is the key to stable operation and durability of the vehicle. To achieve this goal, computer diagnostics of cars is carried out. This is a wide range of diagnostic measures carried out using electronic technology

