2026 Author: Erin Ralphs | ralphs@carsalmanac.com. Last modified: 2025-01-22 21:14:18
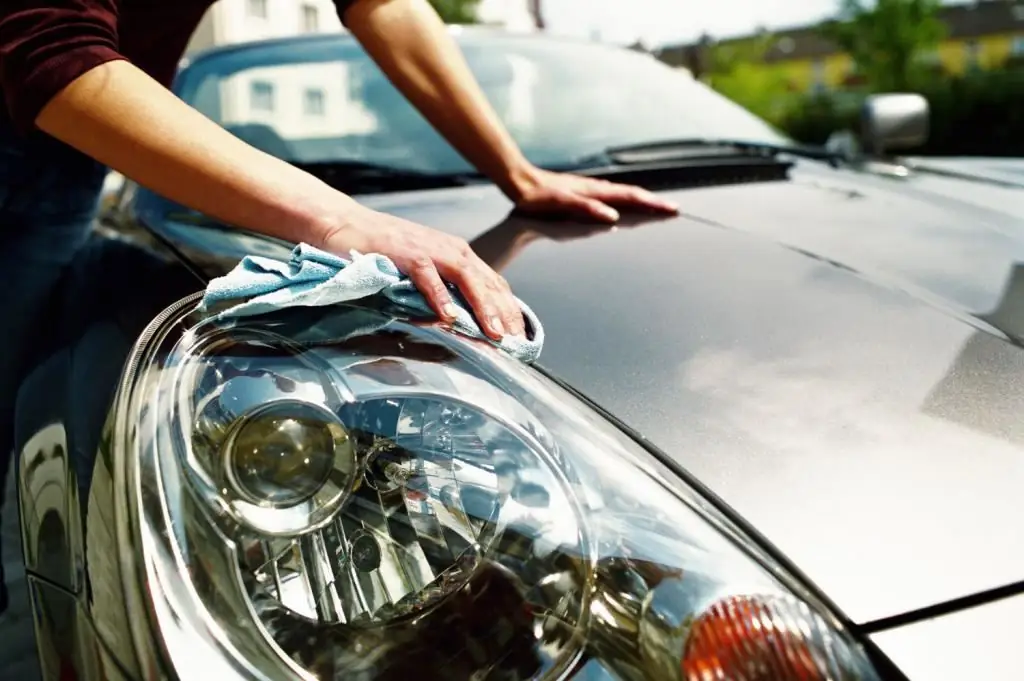
In order for the optics of a car to be safe, it must be protected. A number of well-known methods are used. However, the most popular was pasting the headlights with a film. The process of operating the car leads to the fact that chips and scratches appear on the surface. The film on the headlights can protect them. In addition, this element is able to bring some zest to the exterior of the car.
About film
Protective film on headlights is often used as tinting. The best way for a car is factory tinting, which has a light transmission coefficient of 95% or more. In industry, it is applied by spraying. This allows for certification. Such a slight tint will not cause a fine. When self-pasting the headlight with a film, it is necessary to take into account the coefficient at which the permissible norms will not be violated. You can safely stick a protective coating with a light transmission rate of at least 85%.
Specifications of protective film for car headlights and lights
The film is divided according to various criteria, for example, according tofunctionality, color, additional features.
Functionality:
- for toning;
- shockproof.
Colors:
- transparent, no color characteristics;
- color like red, blue, yellow, etc.
Additional Features:
- chameleon;
- glossy;
- matte finish;
- with sticky layer - self-adhesive.
The film has advantages such as:
- easy cleansing;
- practical operation;
- wear resistant;
- not picky when attaching.
Some people think that headlight wrapping is an expensive undertaking. Polishing or varnishing is, of course, much cheaper if you take into account a single application. However, such manipulations require periodic repetition, which is much more expensive.

How to choose film?
The film that protects the headlights is selected based on a number of parameters:
- Thickness. This parameter directly affects the protection of glass optics. Sand chips, gravel stones and other abrasives will not be able to cause harm, as well as excess moisture and chemicals.
- Transparency factor. This parameter directly depends on the first one. Before purchasing a protective film for the headlights, it is necessary to clarify the light transmission of the car's optics, which is provided by the manufacturer. This must be done in order not to get fined.
- Percent stretch. Definesthe amount of material that will be used when pasting the headlights.
Pros and cons
Clear benefits include:
- The film is easy to stick with your own hands, so the cost savings are obvious.
- Quality glass protection, scratches and chips will not appear.
- Damaged headlight glass after pasting with a film may return to its original form.
- Light travels evenly.
- The color of the film can be chosen to taste. Then it will perform not only a protective function, but also please the eye.
- There are types of coatings that can be polished.
- Long-term use does not cause wear or color deterioration.
- The ability to create a perfectly smooth surface.
If we talk about the shortcomings, then there are only a few. Firstly, when the dimensions are turned off, the car is almost invisible. Secondly, the cost of the source material makes you wonder if this manipulation is necessary.

Paying headlights with a film with your own hands
To make pasting with your own hands, you must have a certain set of tools:
- paper knife;
- rubber or plastic squeegee with felt (felt) coating;
- atomizer;
- solution: liquid soap with water;
- a hair dryer commonly used by builders;
- degreaser (window cleaner or rubbing alcohol works great, white spirit can be used);
- clean and dry rags.
Before the startwork on pasting headlights with anti-gravel film, it is necessary to decide how exactly the process will take place. For example, whether the entire surface of the optics will be pasted over or only “cilia” on the headlights will be processed. You can also choose several color options for the film and create an applique combination.

Workflow
Pasting the headlight film is carried out in several stages:
- The work surface must be thoroughly washed and degreased.
- The places where the film will be pasted must be dry, for which the optics must be wiped with a clean cloth.
- The material is applied to the headlight, the shape is outlined. It is necessary to leave an allowance at the edges in the amount of five to seven centimeters.
- A part is cut from a common piece of film according to the prepared shape.
- The surface of the optics is abundantly wetted with soapy water.
- The prepared piece of film is applied to the headlight. Moving from the central part to the edges, the material is evenly smoothed with a squeegee. Such manipulation should be done to get rid of air bubbles and excess solution.
- The pasted film is dried with a hair dryer while constantly smoothing with a squeegee.
- In order for the bends to stick evenly, the film must be heated with a hair dryer to make it more elastic.
- As soon as the work is finished, the excess is cut off with a knife.

Tips
- When the work is finished, but the coverage is not so perfect, for example, there are bubbles, you need to take a needle andgently pierce them, squeezing out the air. Then use a squeegee to smooth the surface again.
- In order not to overpay for the material, you should contact stores specializing in the sale of car accessories. Experienced salespeople who know automotive optics can tell you what size cut to purchase.
- When squeezing out excess liquid from under the film, do not be afraid to make an effort. Most types of films are equipped with a protective layer that must be removed at the end of work.
- If the headlights are convex like the Nissan Beetle, aligning the film around the edges can be difficult. It must be carefully warmed up and stretched.
- If there is no self-confidence, you have not yet had to wrap the headlights with a film or simply do not have the necessary equipment, then you should entrust the work to a specialist.

Many people ask why soapy water is needed. Experts give a simple answer: the soap solution prevents the film from sticking to the glass instantly and tightly, which allows it to be moved along the optics. The liquid is squeezed out from under the film from the center to the edges. If you change direction, then creases cannot be avoided.
Recommended:
How to connect xenon with your own hands: instructions. Which xenon is better

A rare car from the assembly line is equipped with lighting that would completely satisfy the owner of the car. Halogen lamps with a power of 50-100 W do not allow you to feel comfortable driving in the dark. If we add here wet asph alt that absorbs light, it becomes clear that the driver has no choice but to connect xenon
Replacing the timing chain on the Chevrolet Niva with your own hands: step by step instructions with a photo

One of the most important components in an engine is the timing system. Today, manufacturers are increasingly switching to belt drive. However, many domestic cars are still equipped with a chain gas distribution mechanism. Chevrolet Niva is no exception. The manufacturer recommends replacing the timing chain on the Niva Chevrolet every 100 thousand kilometers
Eyelashes on the headlights with your own hands

What car enthusiast can, given the right opportunity, resist the temptation to tune his car? As an effective tool - cilia on the headlights that many people can like: both the driver himself and everyone around him. In addition, any car after such tuning can be significantly transformed. It is quite possible that if the owner decides to sell his iron horse, the cilia will profitably raise its value
Carbon pasting: necessary materials and tools, pasting technology

Pasting car parts with carbon fiber is becoming increasingly popular both in the world and in Russia. And this is not surprising, since the film protects the surface from chips and cracks, and also gives the car a great appearance
How to solder a cooling radiator with your own hands: description, diagram and recommendations

The article describes how to solder a cooling radiator with your own hands. The means and tools are given, the process of restoring the radiator is described in detail

