2026 Author: Erin Ralphs | [email protected]. Last modified: 2025-01-22 21:14:11
Most often, car owners perform cylinder head repairs involuntarily. If valve adjustment or replacement of oil scraper caps can be carried out without removing this engine assembly, then for lapping, replacing guide bushings, removing carbon deposits, etc. it will have to be dismantled.

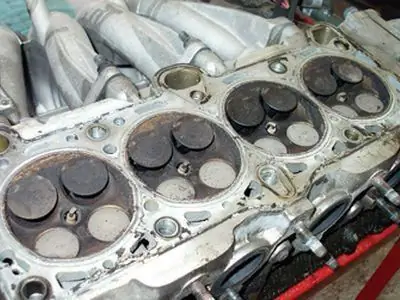
Start such an operation as the repair of the cylinder head VAZ-2110, after its removal should be from cleaning the combustion chambers. To do this, you can use various car cleaners and cloths. For such purposes, a common solvent, which is sold in hardware stores, is also suitable. But in no case should you use mechanical cleaning methods that can damage the surface or leave scratches.
After the combustion chamber is cleaned, it is necessary to carefully inspect it for cracks, traces of burnout. If such defects are present, it is recommended to replace the head. But in some cases, you can try to save the cylinder head - use argon welding. It helps in many situations.
The next step is to check the cylinder block adjacent to the planesurfaces. To perform this operation, you need a ruler. It must be installed with an edge along the surface and diagonally. With each such application, the gap between the ruler and the plane of the head should be measured. If its value exceeds 0.1 mm, then the cylinder head must be replaced.

When examining the condition of the cylinder head, you should also check the bearing surfaces under the shaft journal on the head, as well as the bearing housings. If signs of wear, deep risks and scoring are found, then the entire assembly should be replaced. This completes the visual inspection of the head.
Next, the repair of the cylinder head itself begins directly. More precisely, the process of restoring the initial state. It is necessary to start this procedure by flushing the oil channels. To do this, you need regular gasoline, which refuels the vehicle. First, the vertical channel located between the 3rd and 4th cylinders should be plugged. Then pour gasoline into each channel. After that, leave it there for twenty minutes. During this time, all the dirt inside will get wet. After the specified time has elapsed, it is necessary to drain the filled fuel, remove the plug and finally flush the channels with gasoline and a pear.

The next step is to check the valves for leaks. To do this, they need to pour kerosene into them. If within a few minutes the filled liquid does not begin to seep, then they are tight. Otherwise, they must be ground in or replaced.
Further repair of the cylinder head is to remove the valves,removal of valve stem seals and lower spring plates. After performing this procedure, all these elements must be cleaned of soot. If the valves have deep scratches, scratches, cracks, deformations and traces of burnout, then they should be replaced. It is also important to check the condition of their seats and pushrods. They must not show signs of corrosion or wear. You should also evaluate the condition of the valve springs and their elasticity. Broken, cracked and twisted should be replaced.
This self-repair of the cylinder head is over. Assemble the head in reverse order.
Recommended:
Oil pressure light on at idle: troubleshooting and troubleshooting

What should a driver do when he sees the idle oil pressure light on the dashboard? Beginners may be interested in a similar question, while experienced owners turn off the engine first. This is due to the fact that further work of the power unit can end very badly for it
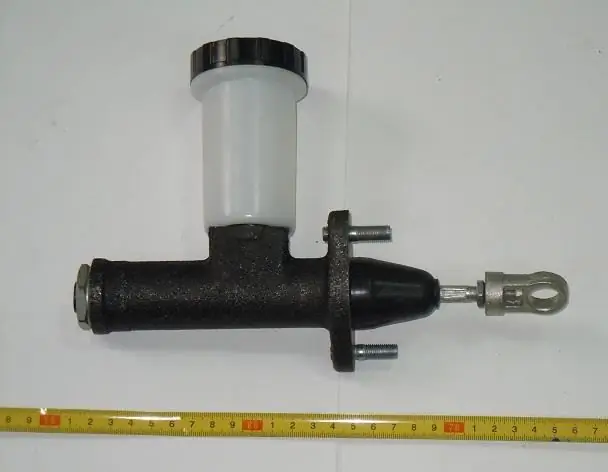
Clutch master cylinder. "Gazelle": device and repair of the clutch master cylinder

To set the car in motion, it is necessary to transmit torque from the engine to the gearbox. Clutch is responsible for this
We do tuning "Sable" with our own hands

GAZ "Sobol" is, perhaps, the only Russian-made minivan, which is an impeccable leader in its class. And this happened not at all because the Gorky engineers endowed it with the most advanced technical innovations, but because in our market there is nothing to choose besides Sobol. And since this minivan costs 2-3 times cheaper than its German and Japanese competitors, it is confidently on the list of the best-selling cars in Russia
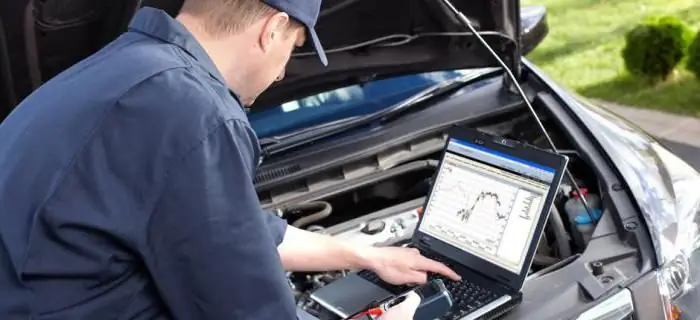
Universal diagnostic scanner for cars. We test the car with our own hands with a diagnostic scanner for cars

For many car owners, service stations represent a significant part of the cost that hits the pocket. Fortunately, some services may not be available. Having bought a diagnostic scanner for a car, you can independently perform surface diagnostics
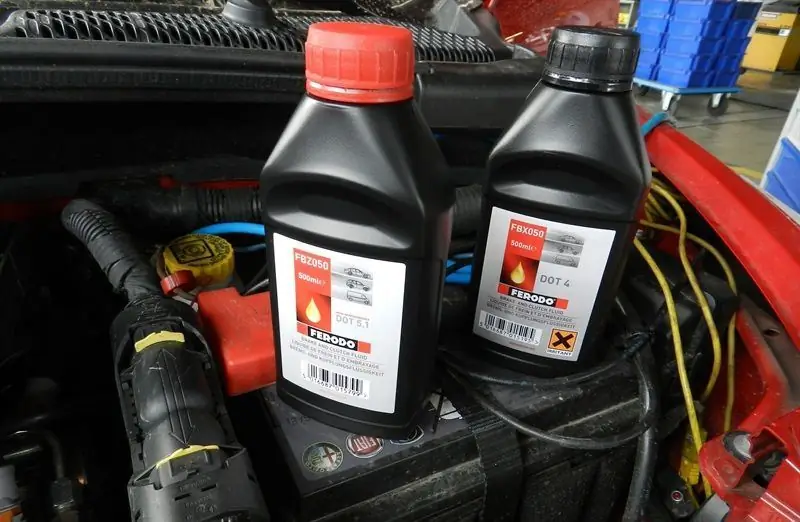
We change the brake fluid "Ford Focus 2" with our own hands

Automotive fluids have a lifespan. The instructions for the car indicate the optimal period for the effective use of its systems Ford Focus 2 brake fluid must be checked and, if necessary, added every 40,000 km

