2026 Author: Erin Ralphs | [email protected]. Last modified: 2025-01-22 21:14:14
Not every car is equipped with good optics, which allows the driver to feel confident on the night road. Owners of inexpensive brands independently modify the headlights, making them more modern and bright. Lenses are great for this. Moreover, the installation of a lens in the headlights is available to everyone.
About the design of automotive optics
The most popular way to tune headlights is the installation of bi-xenon lenses. They not only improve the brightness of the light, but also change the appearance of the car. Using the example of an ordinary Lanos, consider this tuning option.
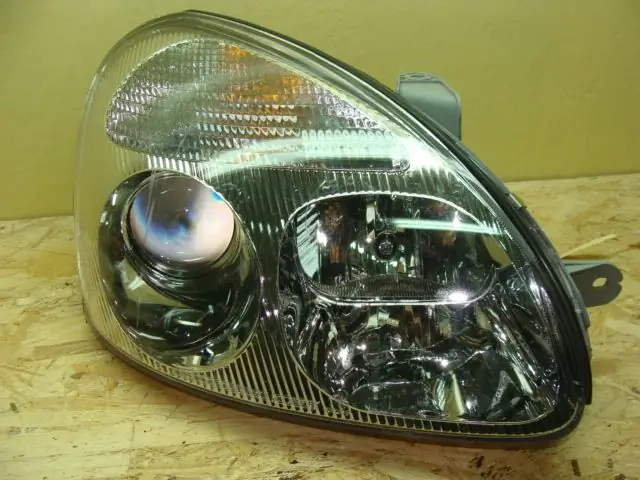
This car was not chosen for the demonstration in vain. The fact is that the installation of lenses is not possible in every optics, but only in those lights where there is no diffuser on the glass. For example, a regular headlight from the VAZ-2107 has special ribs on the back side, designed to scatter light so that it does not blind oncoming drivers. On most VAZ models, all the lights are like that. You could try xenon lenses.in the headlights on the Zhiguli and Samara, but the owner will have to buy other headlights. It will not be possible to achieve any effect with standard optics.
At "Lanos", unlike VAZ, the headlights are made, like all modern foreign cars. They have a diffuser, but the central part of the glass is almost smooth. And it's not even glass at all, but a special plastic that is resistant to shock and elevated temperatures. Installing a lens in the headlights on such optics is possible.
Bi-xenon lens - what is it?
This is a set of parts that are installed in the regular car headlights. Kit includes xenon lamp, reflector, metal shutter, focusable lens and mounting hardware. Sometimes the set also includes ignition blocks.
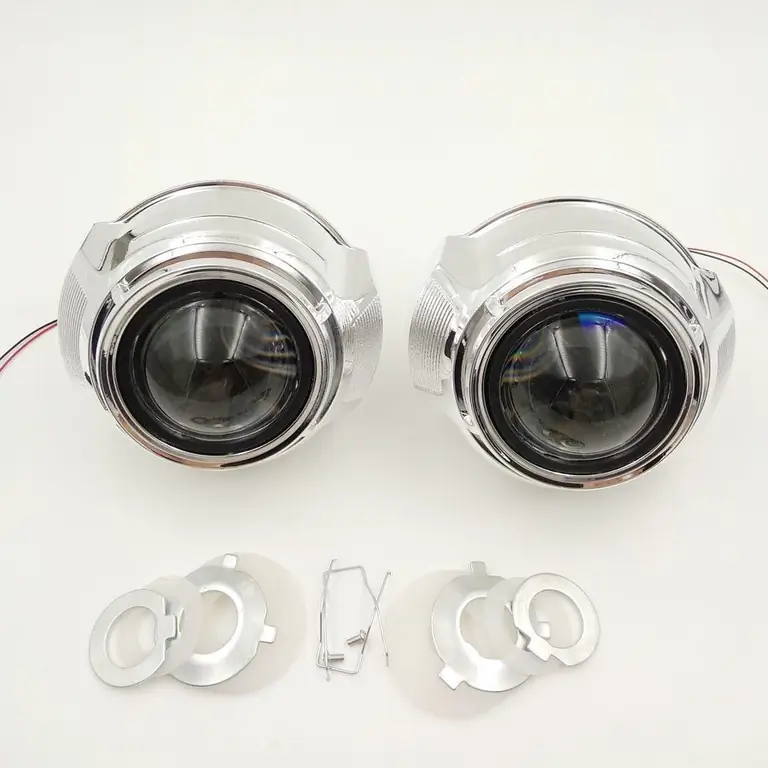
The lens works as follows. The reflector not only reflects the light of the lamp, but also forms it by focusing into a beam. High beam / low beam modes are switched by a curtain. If the driver turns on the dipped beam, the curtain is raised. It covers the main part of the light flux. When the motorist turns on the distant, then the curtain is fully raised. The lamp opens fully.
Dismantling the headlight, dismantling
The vehicle must be parked on a level surface. Next, remove the negative terminal from the battery. The headlights are fixed to the body with two bolts and a nut. They are turned off one by one. Then the optics should be carefully pushed forward in the direction of the machine. All connectors are disconnected from the chassis.
Screwdriver unscrew the screws that secure the so-called "eyelash". Furtherthe headlight is turned over and the brackets are removed with a tool. Use a Phillips screwdriver to unscrew the screw - it is located on the back.
Using a utility knife, make a hole at the top of the cardboard box. The dismantled headlight is laid at the bottom. Then the box is closed, and the building hair dryer is thrust into the hole in it. Next, turn on the hair dryer for five to seven minutes. This is necessary to soften the sealant on which the glass in the headlight is glued.
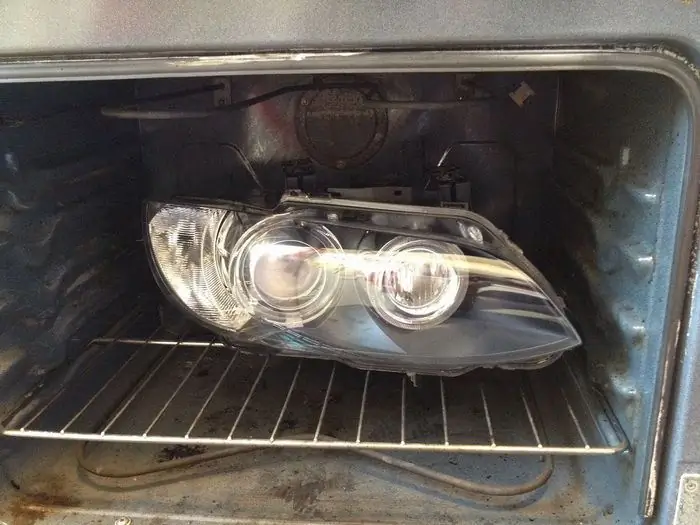
Then the optics are taken out of the box and carefully disassembled - you need to separate the glass from the headlight housing. The mask will detach with the glass. But it is not needed - it is left on the body. Using a screwdriver, unscrew the screw that secures the mask, remove the glass. Sealant will remain in the groove of the housing - it is removed with a screwdriver.
Next, the insides that are not needed are pulled out of the headlight. This is a lamp, a reflector, a spring. Unscrew the screws with a screwdriver and remove the elements that are no longer needed. Then it is important to lay the wiring so that the chip can be brought out.
Painting the reflector
Before you put the lenses in the headlights with your own hands, you will need to try them on. Some car owners also paint the reflector in a dark color. So the optics will acquire a more aggressive appearance, and the decorative lighting will become more expressive in appearance. The reflector is no longer needed. To paint it or not to paint it is a personal matter for everyone.
Before painting, the inner surface of the reflector is treated with fine sandpaper - this is done so that the enamel lies as evenly as possible andsmooth. Painted in two layers. After that, the part is dried a little.
Mounting lenses
It is recommended to wear gloves to install the lens in the headlights. This is necessary in order not to stain the lenses with dust or other dirt. The mask or body is taken out of the package. They also take out a silicone adapter and a lens that are inserted into the mask. Then they are screwed with complete screws. This design is mounted in the optics housing. On the reverse side, the assembly is screwed with a contact nut. You can also use this guide when replacing headlight lenses.
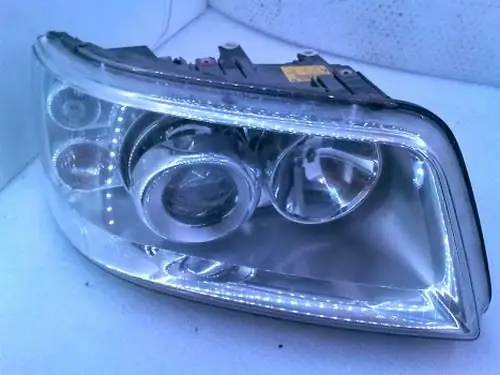
The decorative lighting ignition block is glued to the optics body with double-sided tape. Next, mount the lamps in the lenses. All wiring is brought out of the case. Sealant is placed in a special groove on the case, the glass is heated and glued.
In case of poor-quality connection or depressurization of the glass docking with the lamp body, the lens may sweat. This problem cannot be solved by replacing the lenses in the headlights. It is necessary to disassemble the optics and eliminate the gaps or re-glue the glass. We recommend using alcohol and a soft, lint-free cloth to clean the lens. After cleaning the headlight, it is better to blow the inside of the housing with a compressor to remove dust.
Installation of ignition units
In the process of installing the lens in the headlights, one more issue needs to be resolved. You should find a place for the ignition blocks. Installation under the hood should be such that the devices do not interfere with the repair process. The best place is under the headlights. Drill holes in the mounting ribs, and the blocks are installed under them andsecured with clamps. Then drill a hole for the "mass" for each of the headlights.
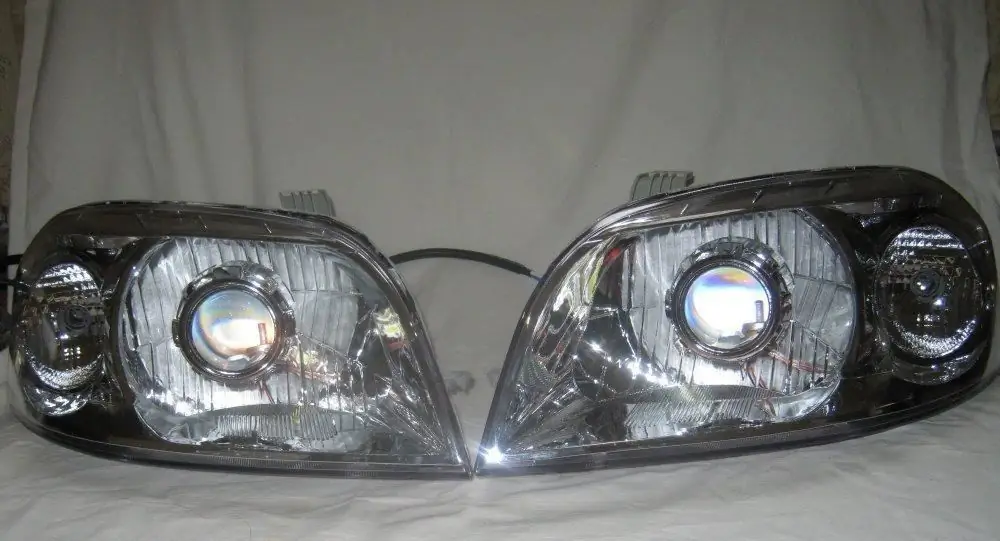
Installation of optics, check
So, when the lenses are already installed in the headlights with your own hands, there are only a few steps left to do. The optics is fixed to its workplace, then secured with nuts and bolts. It remains to connect the wiring, return the negative terminal to the battery, turn on the ignition and check the operation of the new light.
Adjustment
This is a mandatory step. Lenses in xenon headlights require adjustment after installation - this is the only way to achieve efficiency from these devices and not blind oncoming drivers. To set up, you need a flat vertical surface, a tape measure and something for marking the wall.
Put the car as close to the wall as possible. What's next? A line is drawn on the wall surface, which corresponds to the vertical axis of the machine. Then you need to drive off to a distance of 7.5 meters.
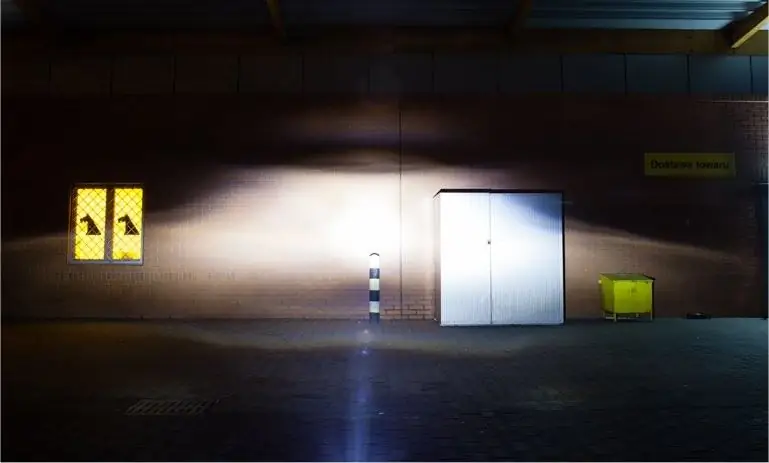
Measure the distance from the ground to the center of the lens with a tape measure. Next, measure the distance from the lens to the vertical axis of the machine. Then a point is found on the wall, which is located at the level of the headlights. From this point, another horizontal line is drawn 3.5 centimeters down. Two lines are lowered onto it perpendicularly - they must correspond to the centers of both lenses. The headlights are adjusted with a corrector so that the light beam is clearly at the intersection of the horizontal and vertical marks. This is how the lenses are adjusted in xenon headlights.
Conclusion
Here's how you can make simple and inexpensive optics tuning. Properly installed and adjusted lenses will not blind oncoming drivers. And the car owner will get better visibility of the road in any conditions. With the help of instructions on how to put lenses in the headlights, even novice car owners can do everything on their own.
Recommended:
Installing xenon in lensed headlights: installation features, regulatory documentation
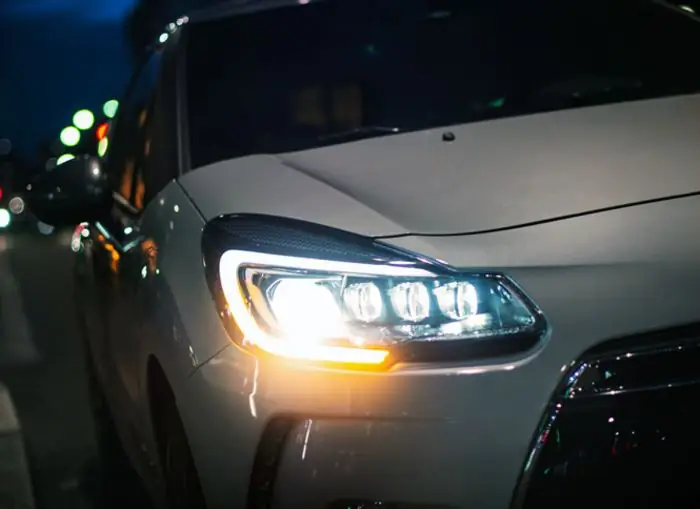
Good road lighting at night makes the trip more comfortable and safer. To improve illumination, drivers put lensed optics. Is it possible to combine xenon and lensed headlights, the advantages and disadvantages of the combination - read the article
Xenon headlights: benefits and installation

Xenon headlights, unlike others, have two built-in electrodes instead of an incandescent coil. They are located at a short distance from each other in a quartz glass tube filled with metal s alts and gases. Between these electrodes, with the help of a high-voltage pulse, the gas acquires an electrically conductive property and an electric charge occurs. Therefore, xenon headlights are also called gas discharge
Electrocorrector headlights: installation
Electrical headlight corrector is a tool for changing the direction of the beam of light from the headlights. By default, VAZ cars have a hydraulic drive with a corrector, which is less attractive and quickly fails
Installing lenses on car headlights: types of lenses, description, step by step instructions
Any car owner dreams of improving his "iron horse", giving it originality and style. Tuning standard optics is the most obvious and affordable step towards individuality. Consider the types and features of mounting lenses on car headlights
Why do headlights sweat? What to do so that car headlights do not sweat?
Fogting headlights is a fairly common problem that drivers and owners of a wide variety of vehicles often face. At first glance, this defect does not seem so critical, and its elimination is often shelved. But all the insidiousness of this problem lies precisely in the fact that it manifests itself most clearly at the most inopportune moment

